

Plate Carriers and Set-ups: A Beginner's Guide
Posted by RAS Group on Dec 1st 2022
Plate carriers are becoming a modern standard for the prepared civilian and rightfully so. The state of our nation is beyond uncertain day to day, and Americans are and should be arming themselves as our founding fathers intended. The armed civilian populace of the United States of America is the “Super Power” that the world has long recognized.
However, getting started can be difficult and overwhelming. Brand names, attachments, pouches, styles, and a world of experienced professionals who all have their own idea of how to set up a plate carrier is a lot to consider. The common theme to remember throughout this guide is that your mission will drive your gear. What your intentions are for a worst-case scenario will reflect what your gear is and how It is loaded out. Whether it is direct action, escape and survival, sustainment, or anything in between… the mission should always drive the gear. Here are eight considerations that I believe are basic essentials to anyone planning to build a plate carrier kit.
1. Hesco L210 Special Threat Plate Set - $380
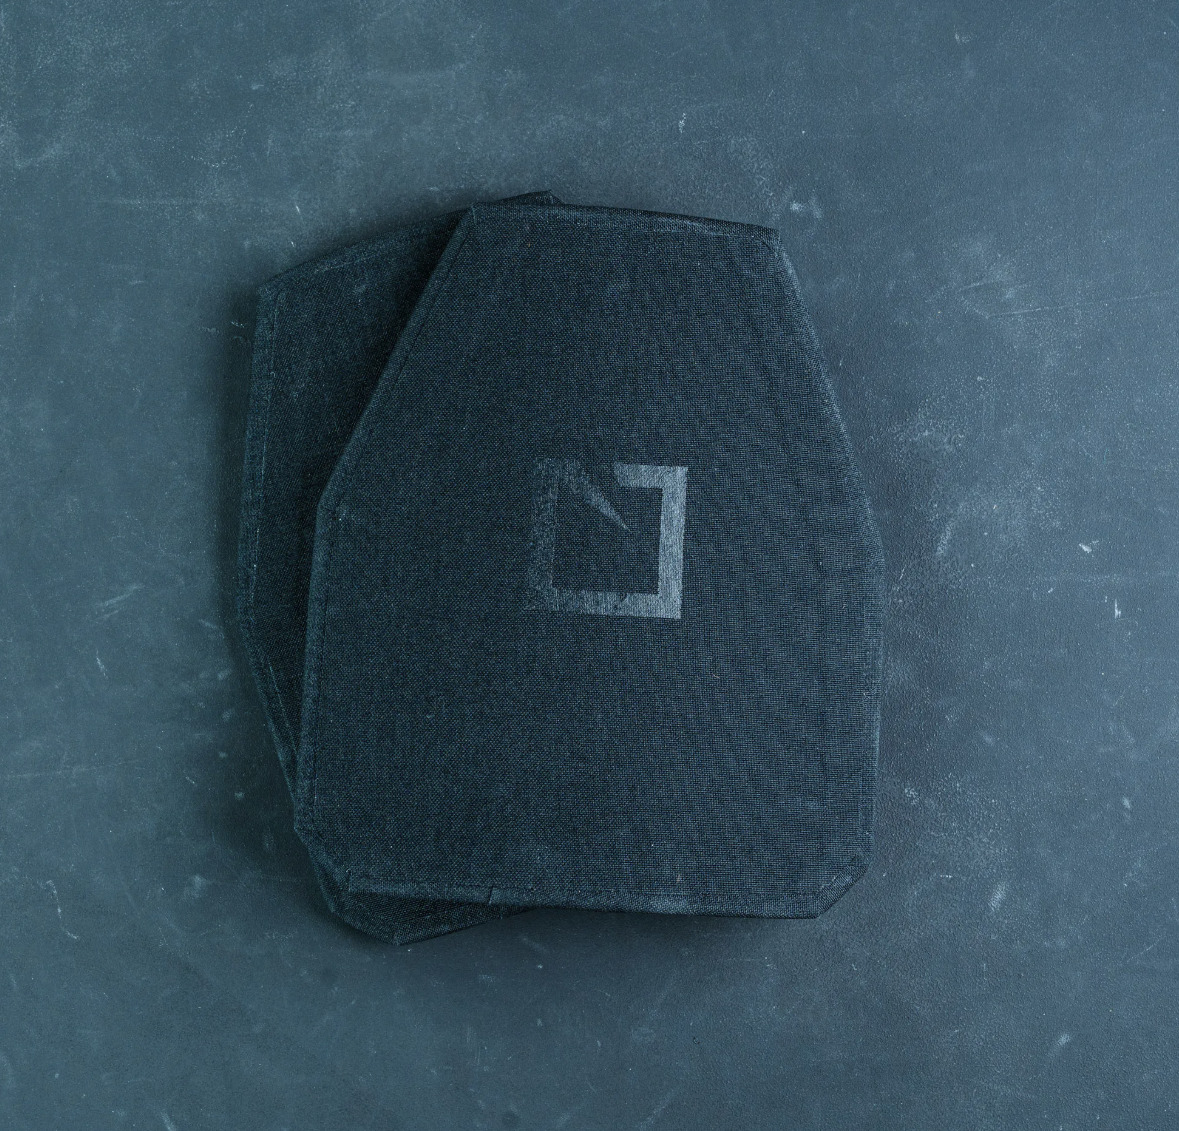
First, the whole point of a plate carrier load-out is to add an advantage of armor protection. The armor is an integral part of this set-up. There are now many types of armor on the market from LVL IV multi-threat rated armor all the way down to LVL II soft armor rated for common handgun calibers. Unfortunately, you will pay for what you get with this topic. Best practice is to be patient. Do not impulse buy a set of $150.00 steel plates. Instead, buy the best level of protection you can realistically afford. Ceramic or poly-composite armor is recognized to be light and capable of stopping higher velocity rounds. They are expensive, but you get what you pay for. Additionally, it is recommended that these are coupled with soft armor backers for increased back-face protection. Hesco L210’s are a great entry level standard to get into and they offer awesome protection for the price. In my opinion (and everyone has one), it is good to avoid purchasing steel armor plates. However, if you decide you want them then here are a few things to consider. They are inexpensive, but heavy. The founding principles of operating is shoot, move, communicate. Heavy plates make it much harder to move. Additionally, when steel is impacted by higher velocity rounds, it may cause the round to fragment and spall. Steel plates are notoriously known to force this fragmentation upwards, into the neck, head, and face of the wearer. Just something to consider. They do, however, have a longer shelf life, will take more hits and are considerably cheaper than their counterparts.
2. Grey Ghost Gear SMC Plate Carrier - $280
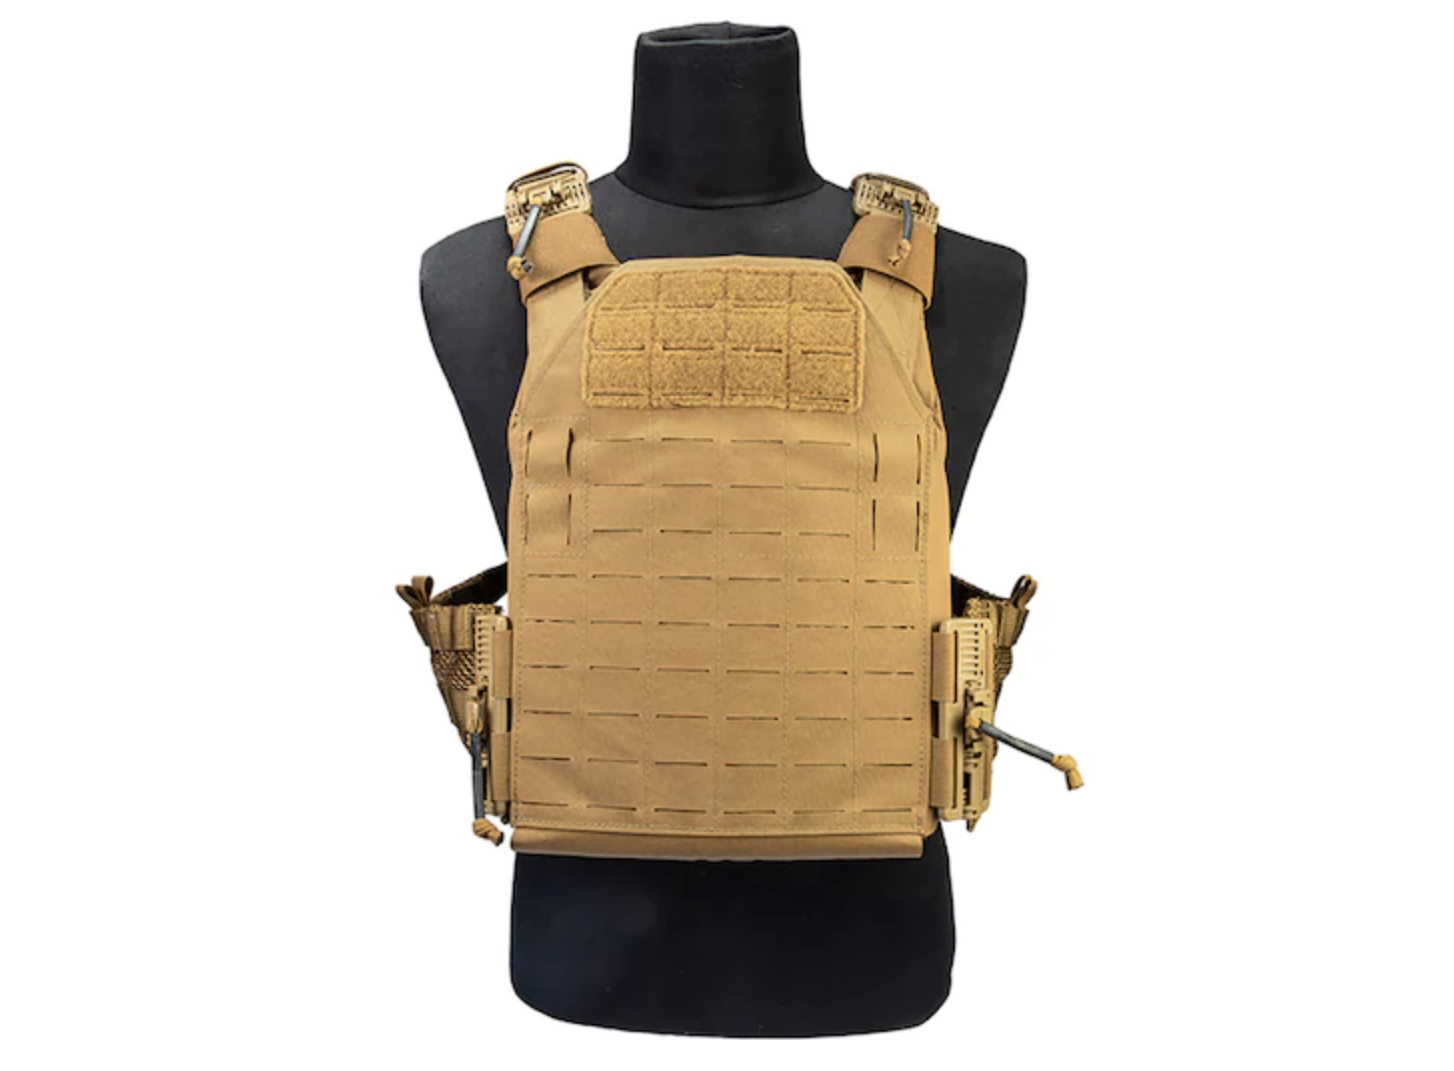
Next, we look at plate carrier options. There are a lot of great options on the market, most of which are designed for a specific mission set. By this time, your response plan to “Stuff Hit The Fan” should be somewhat laid out. Selecting a plate carrier should be a little less confusing. Traditionally there are minimalist rigs and sustainment rigs. “Minimalist” meaning bare minimum of being able to carry essential gear. Small, light, compact...but limited in carrying capacity. This is a great option if you have a guaranteed re-supply nearby at all times or are engaging in a specific mission. Something where you plan to head out for a short time and come back. But remember that combat is unpredictable and a 6-hour mission could turn into 18 hours without warning. Sustainment rigs are designed to carry more gear as compared to minimalist rigs. We will get into this in a little bit, but even sustainment rigs should not be overloaded to the point of hinderance. Great minimalist options are the Spiritus Systems LV119 carrier, Grey Ghost Gear SMC plate carrier (my personal choice), or the HRT RAC plate carrier system. Great sustainment rigs include those of the First Spear Strandhog plate carrier, the Crye Precision JPC or JPCII, and many others. Before you automatically decide what you want to roll with you should consider the rest of your gear and the line system. Here are some things to consider: What do you already have on your person? What is already mounted on your belt line? What do you need to supplement with the carrier? What is in your go-bag? Are you working solo or with a group or small team? What is an essential redundancy and what is unneeded weight? Everything should be working together to develop the complete system. Take your time in making these choices and know what your mission set is going to be.
3. Tactical Tailor Fit Triple Mag Pouch - $32
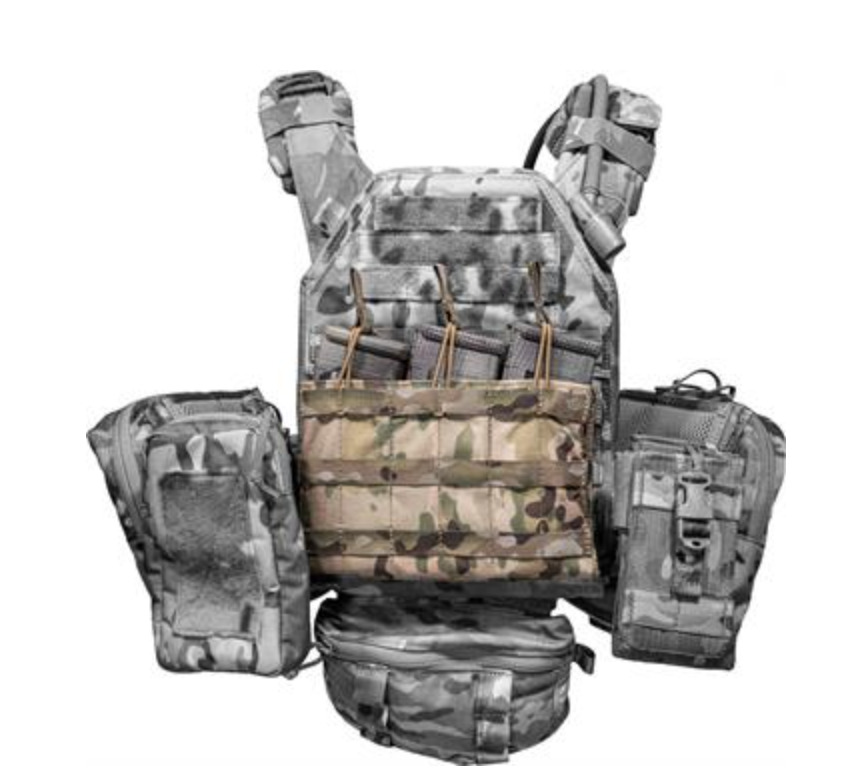
By this time, we have chosen our armor protection and we have our plate carrier. Now what’s next? Let’s take a look at the roles of our equipment thus far. The role of a plate carrier is to stop holes (armor protection), make holes (additional ammunition) and plug holes (medical equipment). So, going off of that rule, let’s look at ammunition carrying capacity. For the purposes of this blog, I am going to assume the common theme that my chosen weapon system is an M4/AR-15 platform rifle. A common minimum combat load-out is seven accessible magazines on our person, including one magazine in the weapon. This leaves six magazines that need to get worked into our kit (plate carrier and belt system) somehow. This means that you can quickly and efficiently access these magazines on your person during an engagement. The common standard is a triple M4 magazine placard across the front of the plate carrier. This option affords us multiple, easily accessible reloads. Plus, the placement of these magazines account for half our ammunition supply. I’m a fan of traditional MOLLE triple mag placards that also have MOLLE slots or loops on them for the attachment of additional gear. Ideally, I don’t like to overload the front of my carrier to the point of not being able to go prone, so be careful if this is the route you want to go. I have discovered that small attachments like admin pouches or flatter medical pouches are not too much of a hinderance. Another thing to keep in mind is gear retention. Out of habit, I like the shock cord retention loops for rifle magazines because I can quickly defeat these and access my mags. Other styles such as hook/loop flaps and open top exist and for most instances will be fine, I just prefer the shock cord. In addition to the triple M4 mag shingle, I like to place one additional rifle magazine on my weak side cummerbund in a single pouch for expedient reloads. This mag is subject to being lost if I were to fall down a hill or otherwise be thrown off of my feet, but this is also why I use a secondary form of retention on my magazines across my chest to ensure that I don’t lose ALL my equipment should this happen. In total this gives us four magazines on our upper kit, leaving two needed on our belt line to achieve our desired seven magazine load-out. I am not at all saying there’s not need to go higher than seven mags, however, that is just a minimal amount I prefer to use as a standard operating procedure. Always load out to fit your mission.
4. Blue Force Gear Trauma Kit NOW! - $150
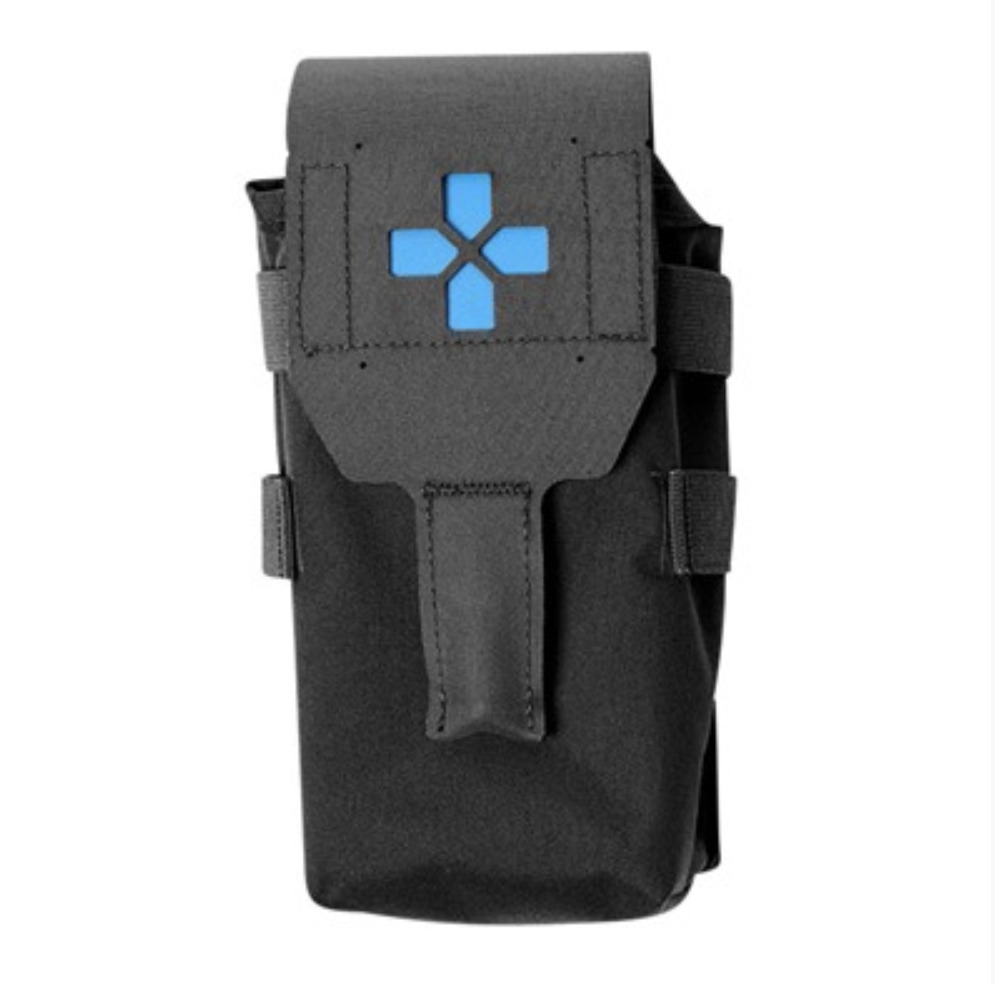
Next on the list is medical. The entire topic of “medical” is far too underrated and this is one of the few areas I believe in creating redundancy. The ability to plug holes is just as important to create them. I always run medical equipment both on my belt line and on my upper kit (plate carrier). All the time, no two ways about it, but that’s just me. I mount my plate carrier medical in a few different ways. The first location is on my weak side cummerbund right behind my single open-top M4 magazine. I like to place it out of the way of my pistol draw, yet close enough to the front of my carrier that either hand can reach it. The second location is mounted on top of my triple M4 placard/pouch center line for true ambidextrous reach. I suggest not adding a 5” thick med kit to the front of your carrier. This will will allow you to go prone and maintain a low profile. Too much bulk on the front will hinder this. Flat medical kits like the SPEAR kit from dark angle medical or the Blue Force Gear trauma kit NOW! Kit are solid options for this style of mounting.
5. Ferro Concepts Mini Dangler - $50
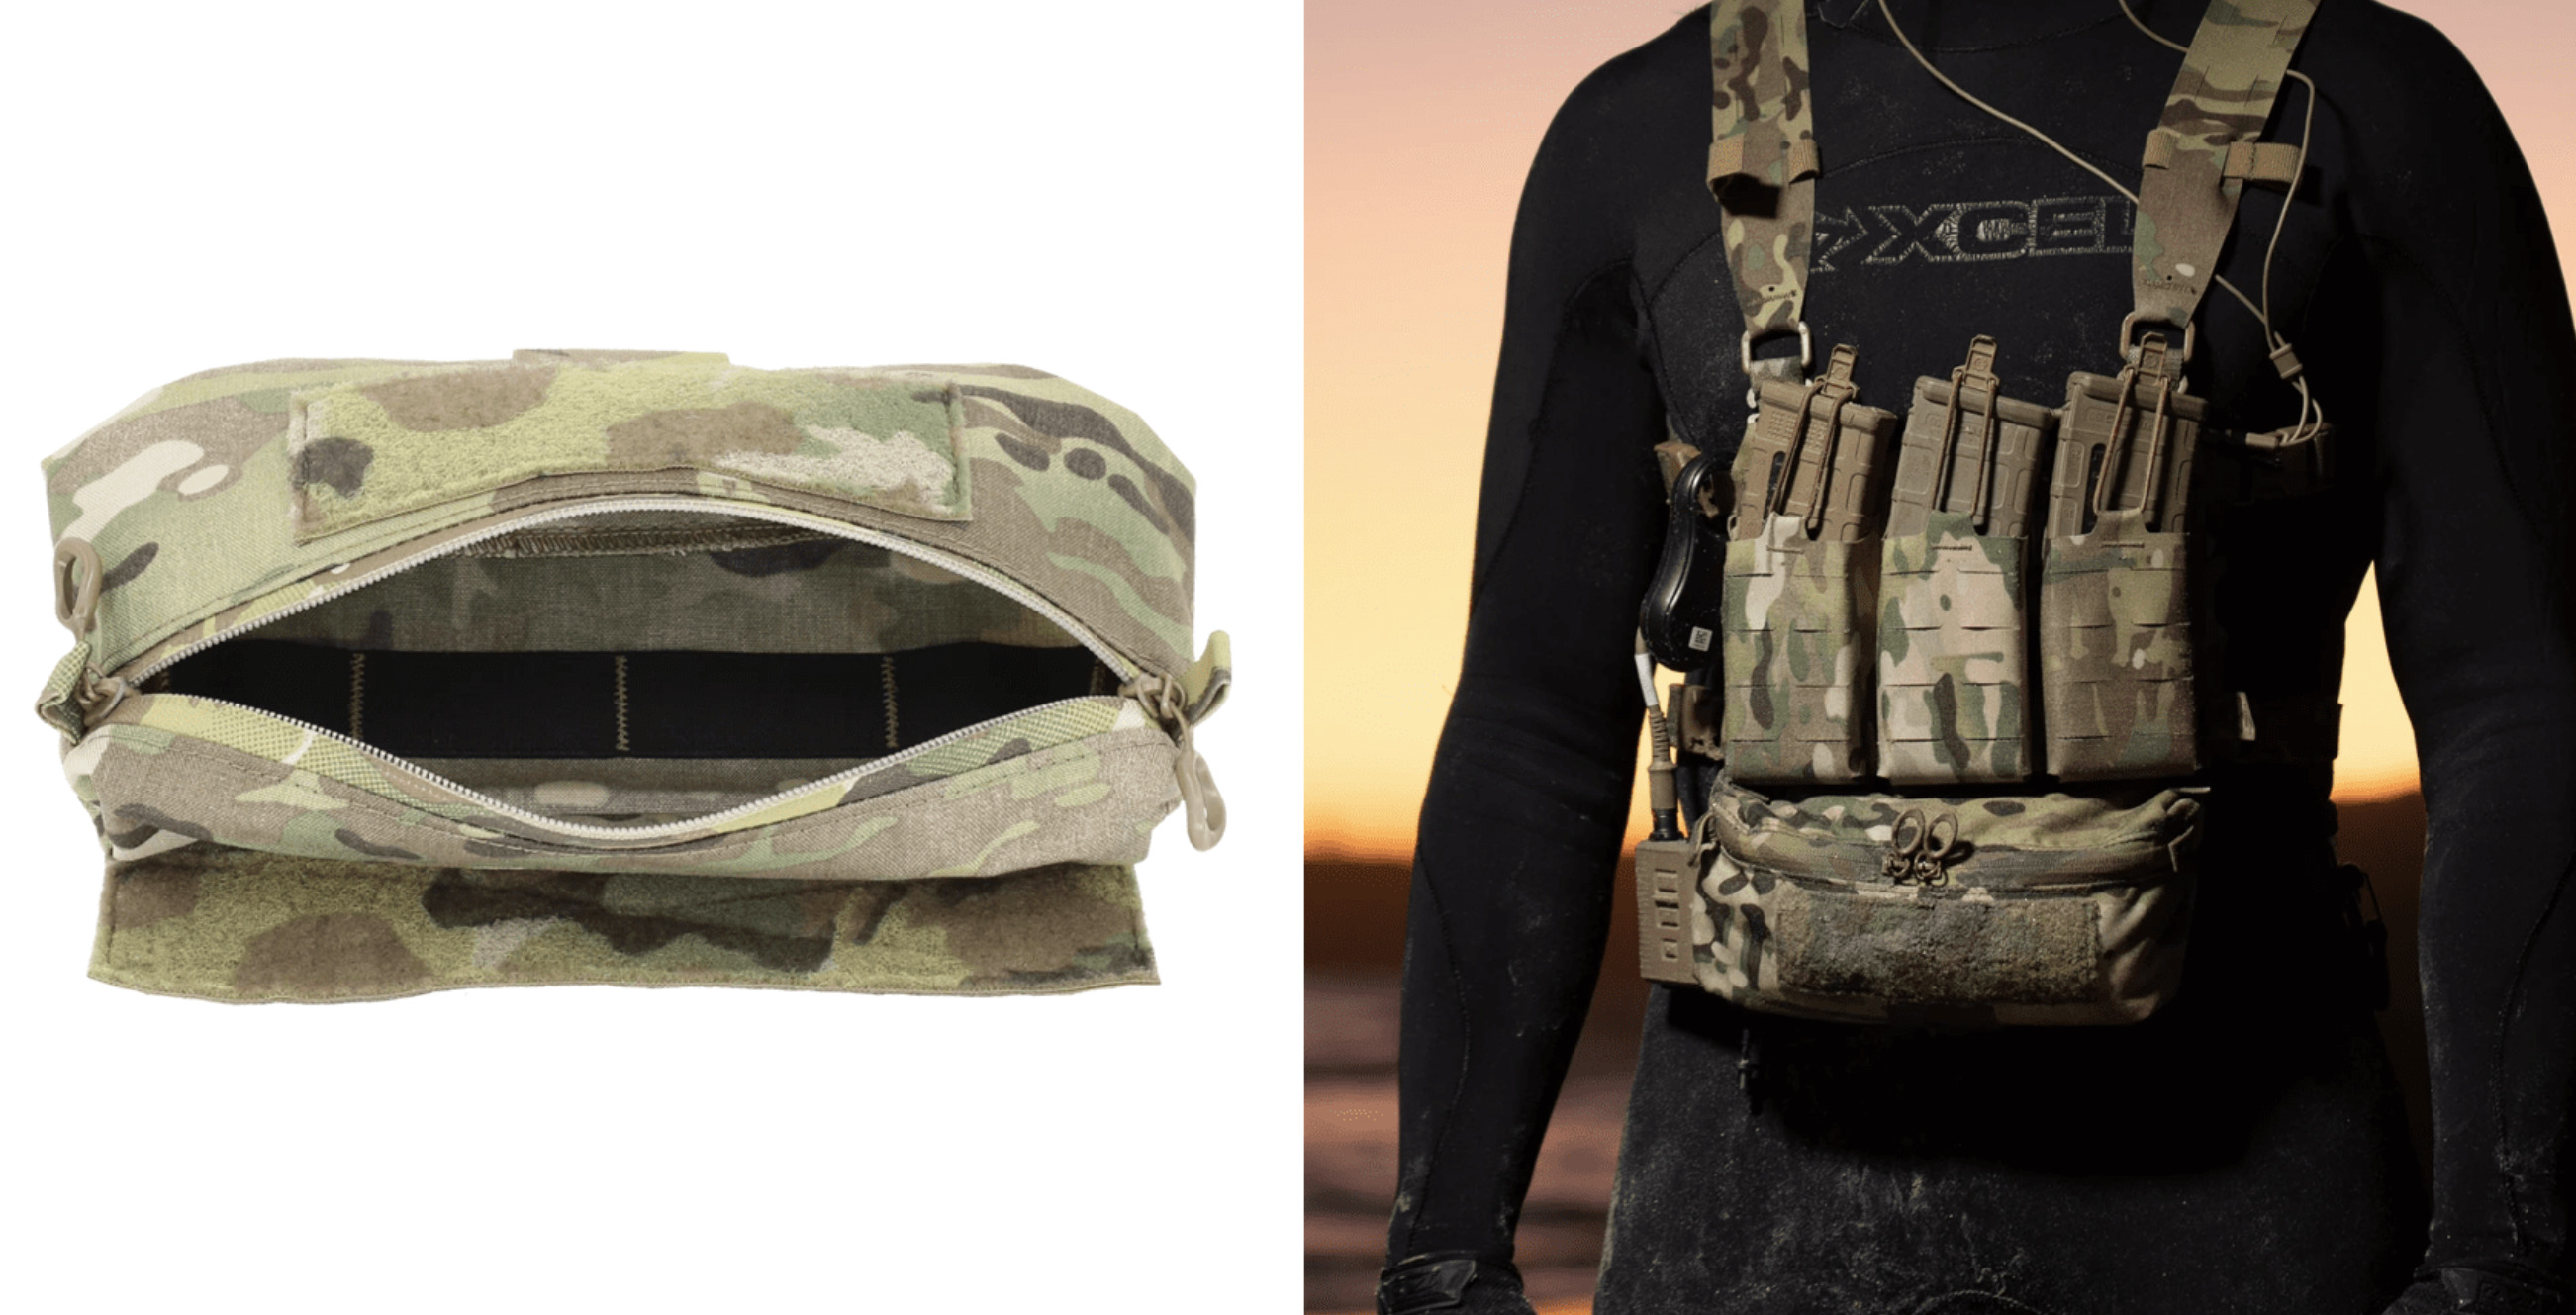
The third option for a med kit placement is my personal favorite and I had to make this it’s own item. It is known as an abdominal dangler pouch. This is awesome, because it is out of the way, does not impede the prone position, utilizes “dead space” and it is still accessible with either hand. Dangler pouches, such as this one by Ferro Concepts, also afford a comfortable placement that allows the user to see what they are grabbing. They are especially great for working on a buddy, or even having to work on yourself. I like to stress that medical equipment needs to be placed where you can reach it at all times with either hand, since we are not always certain we will have a buddy there with us when things “go south”.
6. Handheld Radio - $35 to $5k
We have already addressed the combat and casualty care topics through the essential roles of a plate carrier. Now I look towards the comms, or communications, section of preparedness. Honestly, I am not a comms expert and probably never will be. But the ability to call for help, listen in on what others are saying and being able to communicate effectively with a team is paramount. There are literally thousands of comms set-ups on the market. Some utilize smart phones with wireless ear buds, some use PRC-152 high end radio set-ups, some use Baofeng UV-5R radios with routed push-to-talks (PTT) that can connect into headsets mounted to helmets or worn via headband. There are a lot of options out there and it is a huge area of expertise. Whatever you decide to obtain for your communication needs, I suggest mounting it in a place where you don’t have to rely on someone else to activate it. I keep my radio mounted as far forward on my strong side cummerbund as I can, as to not impede pistol draw. Another option I like is inside of a cummerbund internal pocket or internal MOLLE field. I don’t want to risk accidentally activating my comms or switching a frequency, but I also need it close enough so I can manipulate it easily at a moment’s notice with the ability to visibly see what I am doing. Remember, the mission is still driving the gear. Know what you need to be able to do and what you don’t. It is not feasible for everyone to invest in a PRC-152 or any other $5K radio. Know your mission and what you need to be able to do, and plan for that.
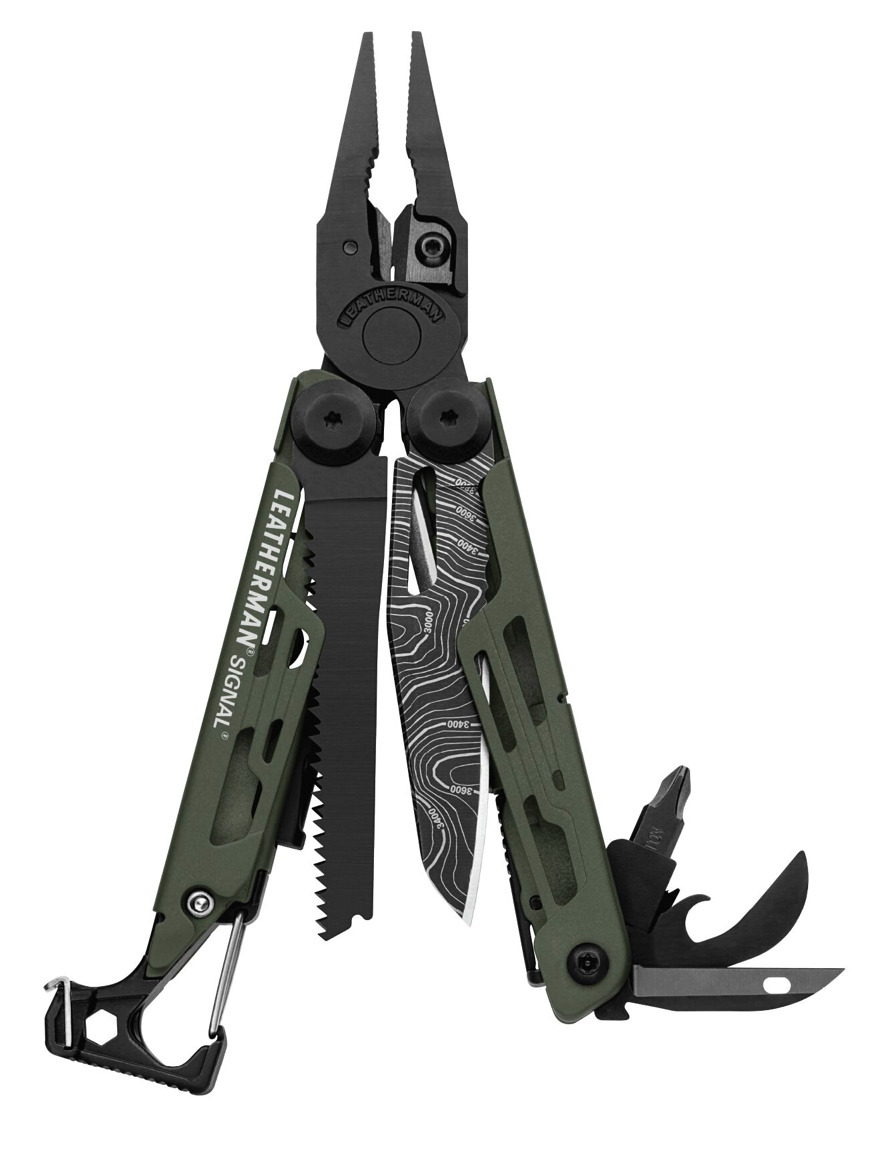
So now we have armor, combat, casualty care, and comms checked off. Next, I look at the idea of a cutting tool, or tools in general for that matter. A decent cutting implement is not only a utility tool, but can be a defensive tool as well. For this reason I always carry a fix blade of some sort on my upper kit, on my weak side, close to centerline. A fixed blade knife gives us the ability to bushcraft and employ combative skills if things have gone that wrong. A few good options for mounting are behind the triple M4 mag shingle, behind the weak side mounted medical kit, or on the interior of your weak side cummerbund. Personally, I choose to have this on my weak side as opposed to strong side in the event that my strong side is pinned to the ground in a fight and I need to use my non-dominant side of my body to create space. Another great consideration is a multi-tool of some sort. I like Leatherman, but I know there are a lot out there. You would be amazed at the amount of odd tasks that arise during a survival situation in which having a small pair of pliers, a small saw, or a small screw driver come in handy. Don’t underestimate them. Multi-tools are worth their weight in gold.
8. Maglite Mag Tac LED Flashlight - $61
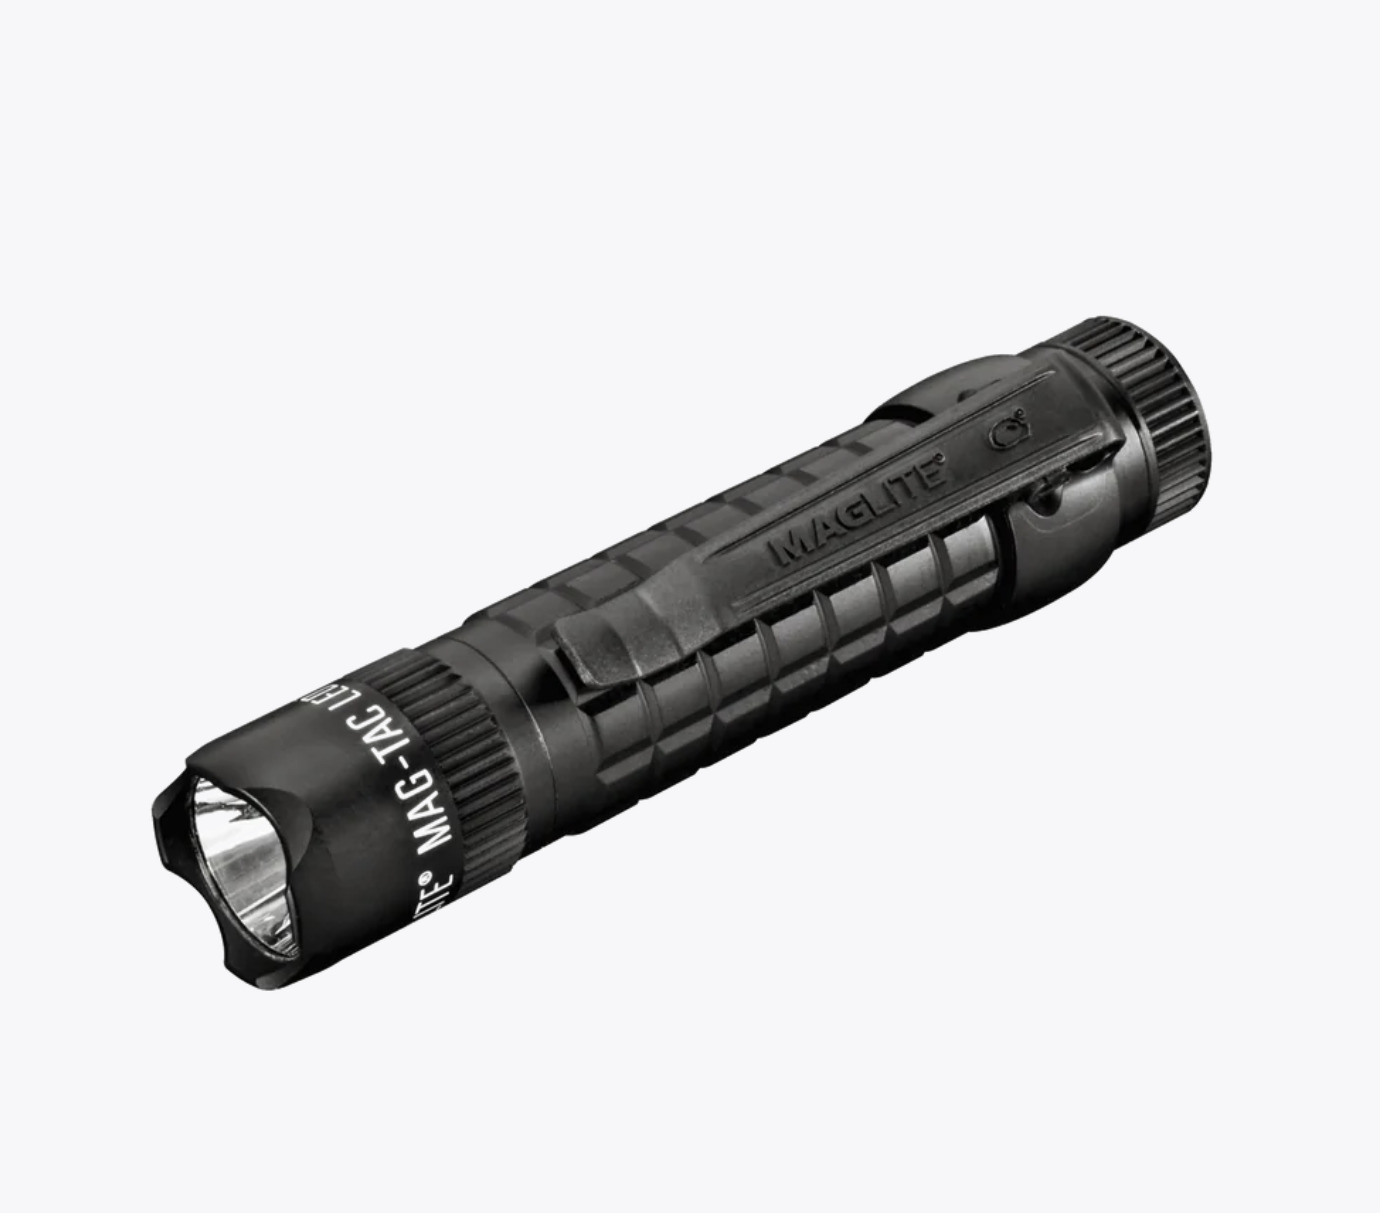
Lastly, you should consider carrying an illumination device. A dedicated white light is something I see as necessary. It is a fail-safe in the event of weapon light failure, it allows for accurate navigation through an interior or exterior setting (be careful of white light negligent discharges during evasive movements) and it allows for quick and efficient performance of tasks in dimly lit environments. I run THYRM switchback rings on all of my handheld lights for ease of manipulation and a redundant defensive option should things get that bad. SureFire, Maglite… there are a lot of decent brands out there. Just make sure to carry extra batteries! Any place on your carrier that you can access this device is a good one. Also, within this topic is something known as marking illumination. The purposes for marking illumination are for marking exfil/infill locations, cleared areas, gear stashes, or marking yourself and other friendlies for ease of identification in low light/no light conditions. A simple chem light can get the job done here.
After all of these basic essentials, the amount of food, water, and sustainment gear you feel you need depends on you and your mission set. How far, how long, likelihood of engagement, contingency routes, are all just a fraction to consider when getting a plate carrier set up with what you need. For further considerations, look towards the “C’s of survival”. I’ll list them here:
11 C's of Survival:
1. Cover (Shelter)
2. Container
3. Calories
4. Cordage
5. Cutting Tool
6. Combustion
7. Compass
8. Combat
9. Casualty Care
10. Communications
11. Candela
All of this comes down to mission set and arguably more importantly, training. Without the proper training behind all of this, you very well may just be a trained person’s re-supply. Firearms, medical, combative, bush crafting, land navigation, low light/no light are all areas of training that we hit on just in the considerations of building out a plate carrier. This is an extensive topic, but I hope that this guide has helped either get you started on your journey, or given you consideration to the path you are already on. Above all else… stay safe, and stay trained.